
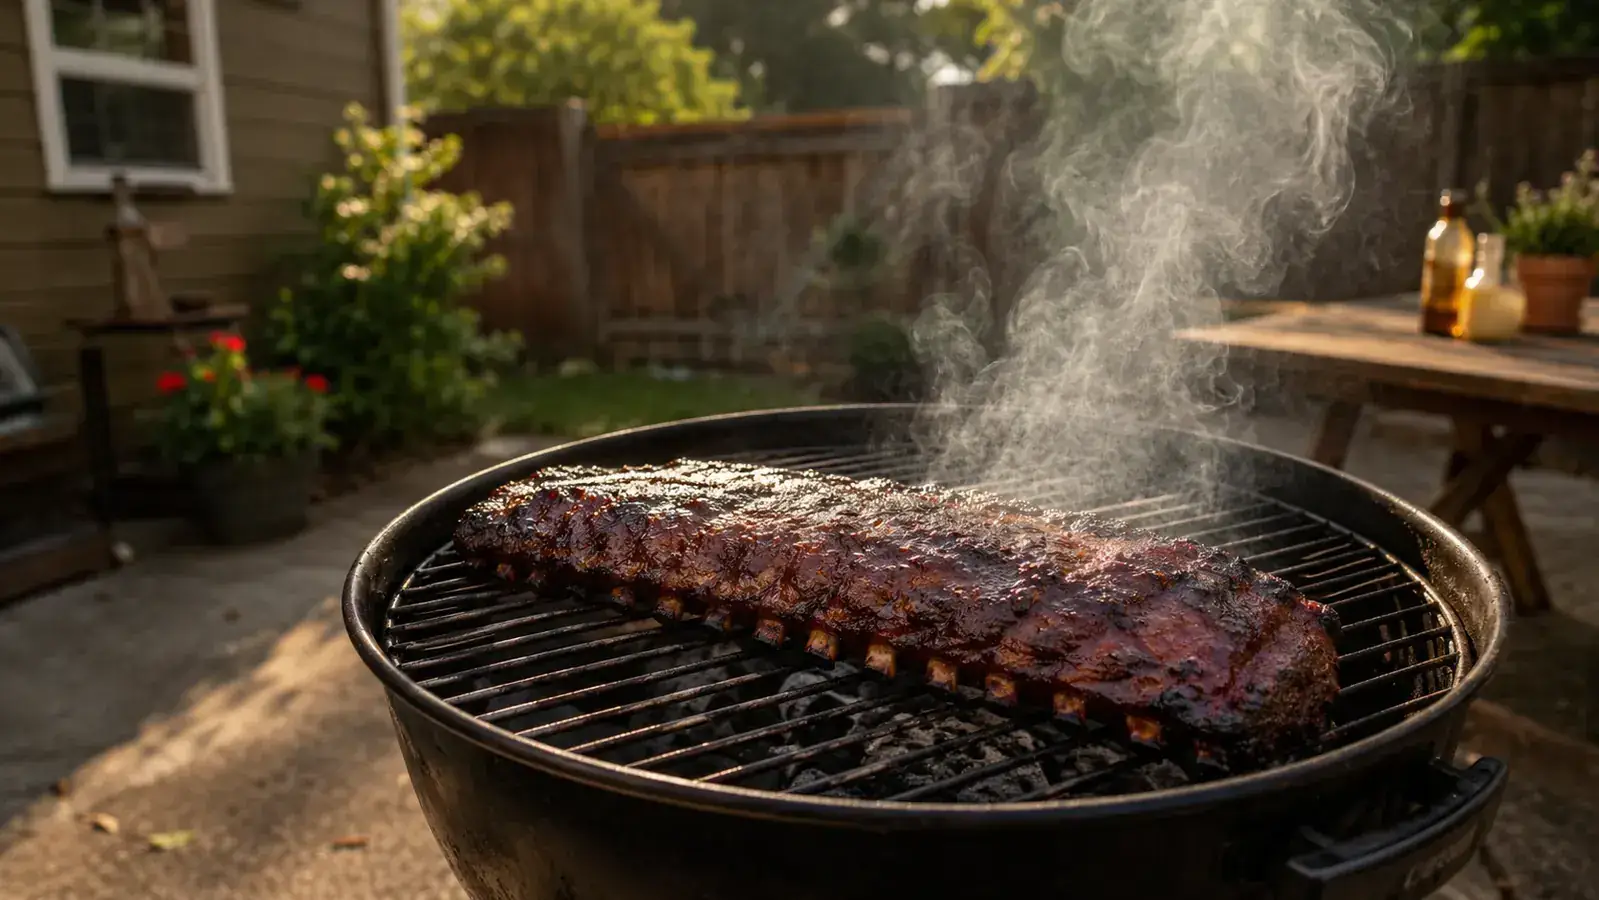
Bad basting is one of the most common reasons backyard ribs come off the grill with charred, bitter sauce instead of a sticky, lacquered crust. The sugar in almost every BBQ sauce will burn hard if you apply it too early, and that burnt layer does not wash off between basts. You end up scraping black flakes and wondering what went wrong. The fix is not a better sauce. It is better timing.
I have cooked ribs on a charcoal kettle, a gas grill, and a dedicated offset smoker. The timing windows and basting technique I am going to walk you through work on all three. The other variable that matters more than most people realize is the brush. A frayed cotton mop sheds fibers and pools sauce unevenly. A flat silicone brush like the OXO Good Grips lets you lay a thin, even coat exactly where you want it without dripping sauce into your coals and flaring up. I will point out the tool at each step where it makes a real difference.
If your last batch of ribs came off gummy or burned, your basting brush is probably the culprit
The OXO Good Grips Silicone Basting Brush lays sauce on evenly, holds up to high grill heat, and goes straight in the dishwasher when you are done. It is the one tool change that made the biggest difference in my rib cook quality.
Amazon Check Today's Price on Amazon →Step 1: Prep Your Ribs and Choose Your Cook Method
Before you think about sauce, you need a full rack ready to go. For baby back ribs, remove the silverskin from the bone side. Slide a butter knife under the membrane at one end, grab it with a dry paper towel for grip, and pull it off in one sheet. Without this step, sauce collects on top of the membrane instead of soaking into the meat, and the membrane goes rubbery in the finished rib.
Season your ribs with a dry rub at least one hour before they go on the grill, or the night before if you have the time. A basic rub of kosher salt, coarse black pepper, smoked paprika, garlic powder, and a little brown sugar does most of the work. The brown sugar in the rub is separate from the sauce and has time to bind with the proteins in the meat. That is what builds your bark before the sauce ever goes on.
Set up your grill for indirect heat. On a charcoal kettle, push the coals to one side and cook the ribs over the empty side with the lid closed. On a gas grill, light one or two burners on one end and keep the ribs on the unlit side. Target 225 to 250 degrees Fahrenheit at the grate level near the ribs. This is the cook zone where the fat renders slowly without the sugars in your rub caramelizing too fast.
Step 2: Run the Smoke Phase Without Touching the Sauce
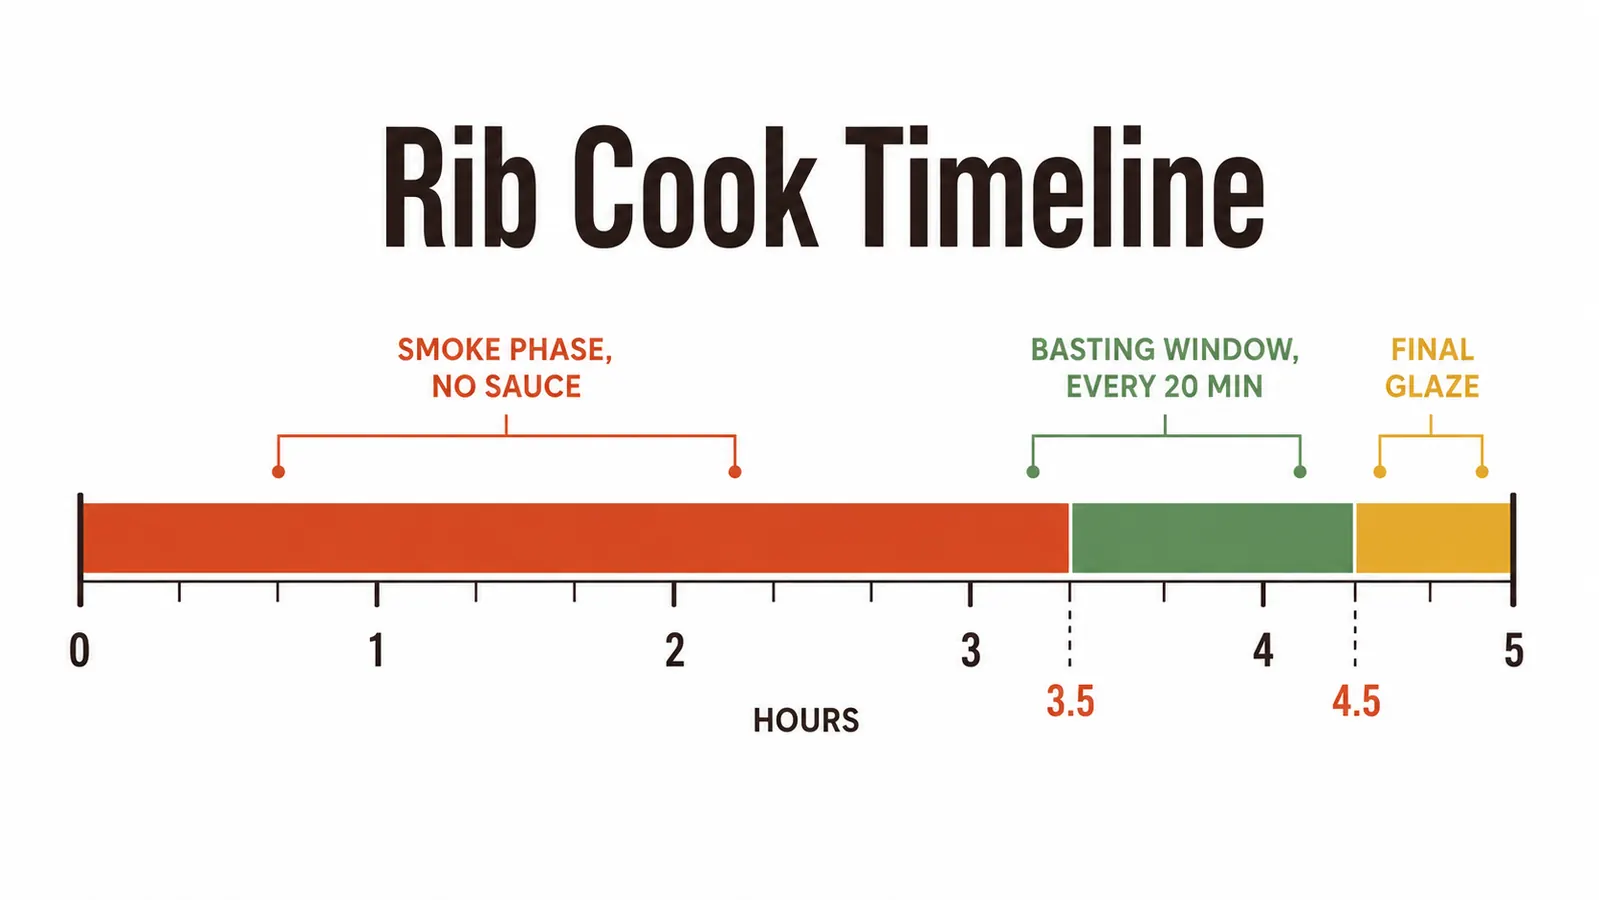
Once the ribs go on, leave them alone for the first two to three hours. This is the smoke phase. The rub is forming bark, the fat is rendering, and the collagen is starting to break down. Any sauce you apply during this window will burn before the ribs are anywhere close to done. I know the instinct is to get saucing early because the ribs look dry. They are supposed to look dry. That surface is setting up the texture you want.
If you are using wood chips or chunks for smoke flavor, add them at the start of the cook and let them do their job. Adding smoke after the first two hours has diminishing returns. The meat stops taking on smoke efficiently once the surface seals. So get the smoke in early and save the sauce work for later.
A good target for the end of the smoke phase: the ribs pull back from the bone ends by about a quarter inch. That is a reliable visual cue that the collagen is rendering and the ribs are entering the basting window. You can also probe the meat between the bones with a toothpick. If it goes in with only slight resistance, you are ready.
Step 3: Apply the First Coat of Sauce at the Right Temperature
This is where the OXO silicone brush earns its place in the kit. Warm your sauce slightly before the first application. A cold sauce straight from a refrigerated bottle is thick and lumpy, and it will pull heat out of the ribs and slow the final cook. Thirty seconds in a small saucepan on the side burner or in the microwave gives you a sauce that flows easily and spreads thin with a few strokes.
Apply the first coat on the bone side only, then flip the rack and coat the meat side. Use the flat face of the silicone brush to lay a thin, even layer across the whole surface. You are not globbing sauce on. You are painting a coat. A thin coat sets into a glaze. A thick coat sits wet and either drips into the coals and flares up, or steams rather than caramelizing. Apply and close the lid immediately. Let it set for 20 minutes at the same 225 to 250 degree range.
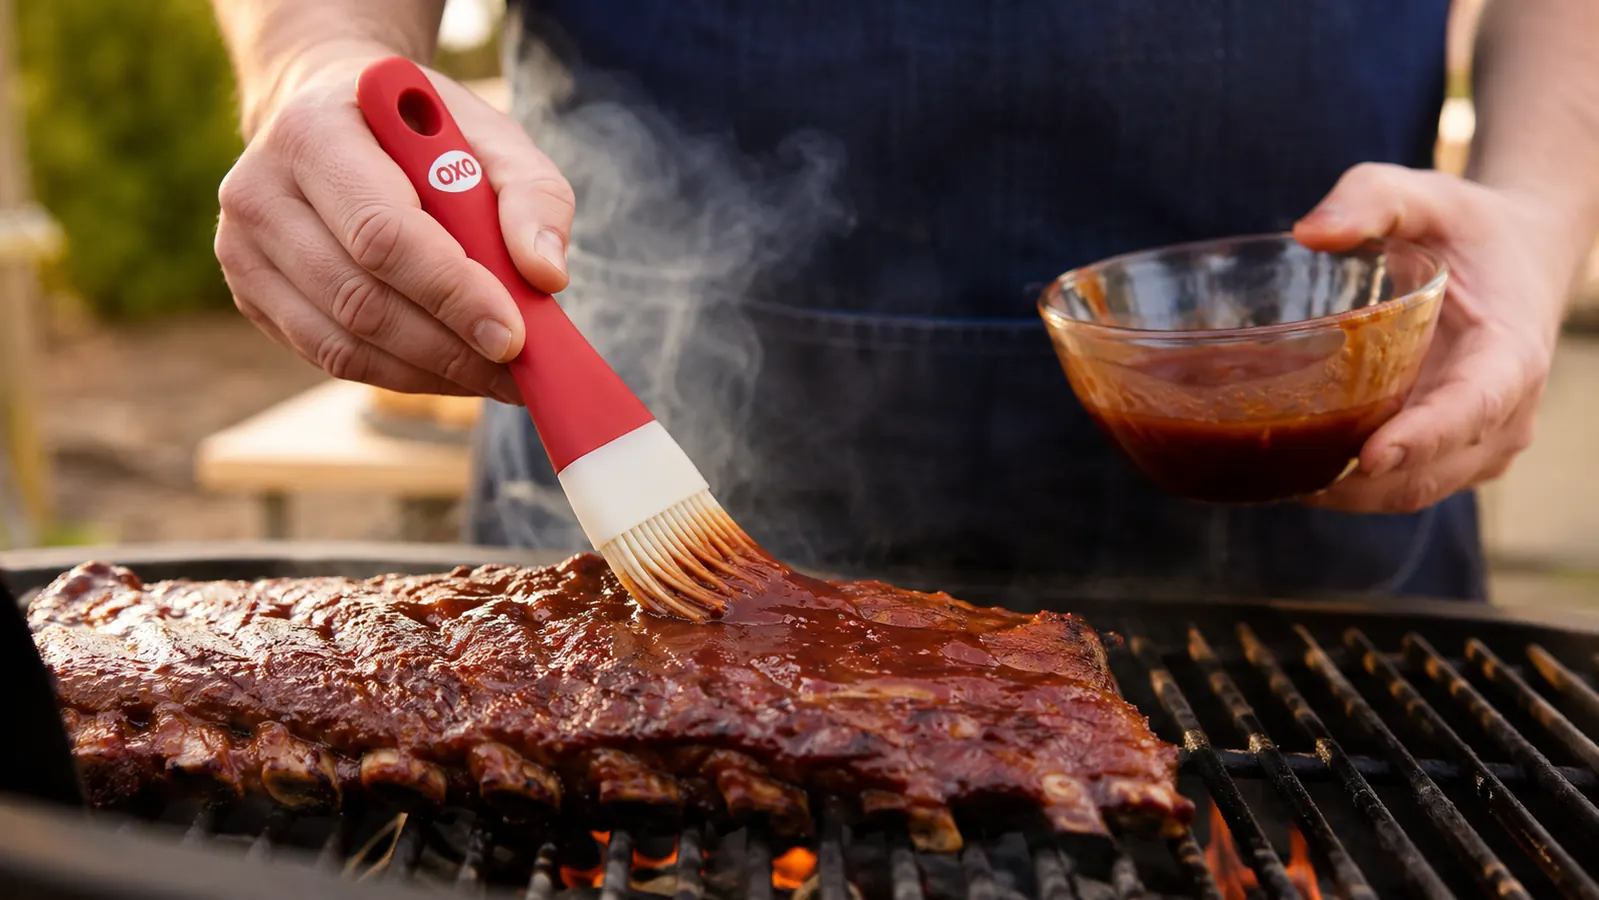
The silicone bristles on the OXO brush do not shed and they clean up with a single pass under hot water or a trip through the dishwasher. If you have been using a cotton mop brush or an old natural-bristle pastry brush on your grill, the cleanup difference alone is worth the switch. I have found bristles in ribs before I upgraded. You do not want that.
Step 4: Repeat the Basting Process Every 20 Minutes
After that first coat sets, apply another thin layer. Then again 20 minutes later. You are building up the glaze in thin passes the same way you build a lacquer finish on wood. Each layer dries slightly, the next layer sticks to it, and over two to three applications you end up with a deep, shiny crust that has real depth of flavor.
Most backyard pitmasters do two to three basting rounds total before the ribs come off. That is enough to build good coverage without the sauce burning. If you are cooking at the lower end of the temperature range, 225 degrees, you might get one more round without burning. If you are running hotter, closer to 275, limit yourself to two coats and watch the color closely.
You are not globbing sauce on. You are painting a glaze. The difference between gummy ribs and a proper lacquered crust is a thin coat, a little heat, and enough patience to let each pass set before adding the next.
Step 5: Do the Final Glaze and Rest Before Cutting
About 15 minutes before you think the ribs are done, move them over direct heat briefly and apply the last coat of sauce. This final glaze pass over the flames gives you the slight char and deep caramelization that looks like competition-style ribs. Keep the lid open and watch closely. You are not cooking here, just setting the glaze. Two to three minutes per side is all it takes. Pull the ribs the moment the sauce starts to bubble and look shiny.
Then rest the rack for at least 10 minutes before you cut it. I put mine on a wire rack over a cutting board and tent it loosely with foil. Resting lets the juices redistribute through the meat. Ribs cut straight off the grill lose juice fast. If you have done the patience-intensive work of a five-hour cook and a three-stage glaze, do not skip the rest and throw it away in the last 10 minutes.
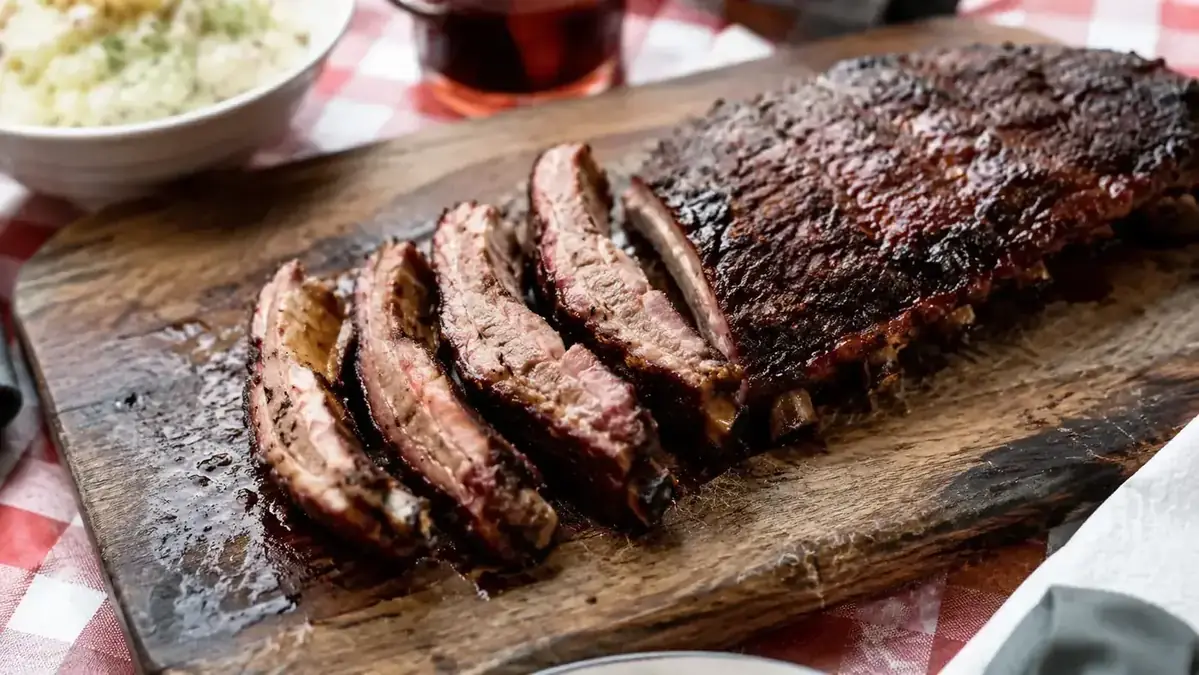
When you cut between the bones, you want to see the juice pool in the grooves of the cutting board. The meat should pull away from the bone cleanly without the rib disintegrating. If the bone falls out on its own, the ribs are slightly over. If the meat tears instead of pulling, they needed another 30 minutes. Either way, the glaze should be dark, intact, and slightly tacky. That is a properly basted rib.
What Else Helps When Basting Ribs
Temperature control is the silent partner to good basting. If your grill is running hot and cold in 50-degree swings, your sauce will behave unpredictably on one side of the rack and undercook the other. A decent instant-read thermometer lets you probe the grate surface and the meat itself so you know where you actually stand. The difference between 225 and 300 degrees at the grate changes your basting window significantly.
The sauce you pick also matters. Heavy tomato-based sauces with a lot of sweetener burn faster than vinegar-forward or mustard-based sauces. If you like a sweeter sauce, dilute it slightly with apple cider vinegar or apple juice before basting. It flows better off the brush and gives you a little extra time before the sugars tip over into bitter. You can always add a straight sweet layer in the final glaze pass without diluting it.
Finally, use the brush to baste the bone side every round, not just the meat side. Most backyard cooks focus on the top and ignore the underside. The bone side has meat between the bones that picks up glaze too, and a well-basted bone side actually helps the rack hold together better when you flip it during the final glaze pass.
A silicone brush is the one basting upgrade that actually changes your results
The OXO Good Grips Silicone Basting Brush has an angled head, a soft-grip handle, and dishwasher-safe silicone bristles that do not shed. It is the brush I reach for every cook, from a quick chicken weeknight to a six-hour rib session. Check the current price on Amazon and see the ratings yourself.
Amazon Check Today's Price on Amazon →If you want the full breakdown of how this brush holds up over a season of real BBQ use, I wrote a detailed long-term review: OXO Good Grips Silicone Basting Brush Review: 12 Months of Real BBQ Use. And if you are still on the fence about silicone versus your old-school mop, this piece covers it head to head: 10 Reasons to Upgrade From a Traditional BBQ Mop to a Silicone Basting Brush.