
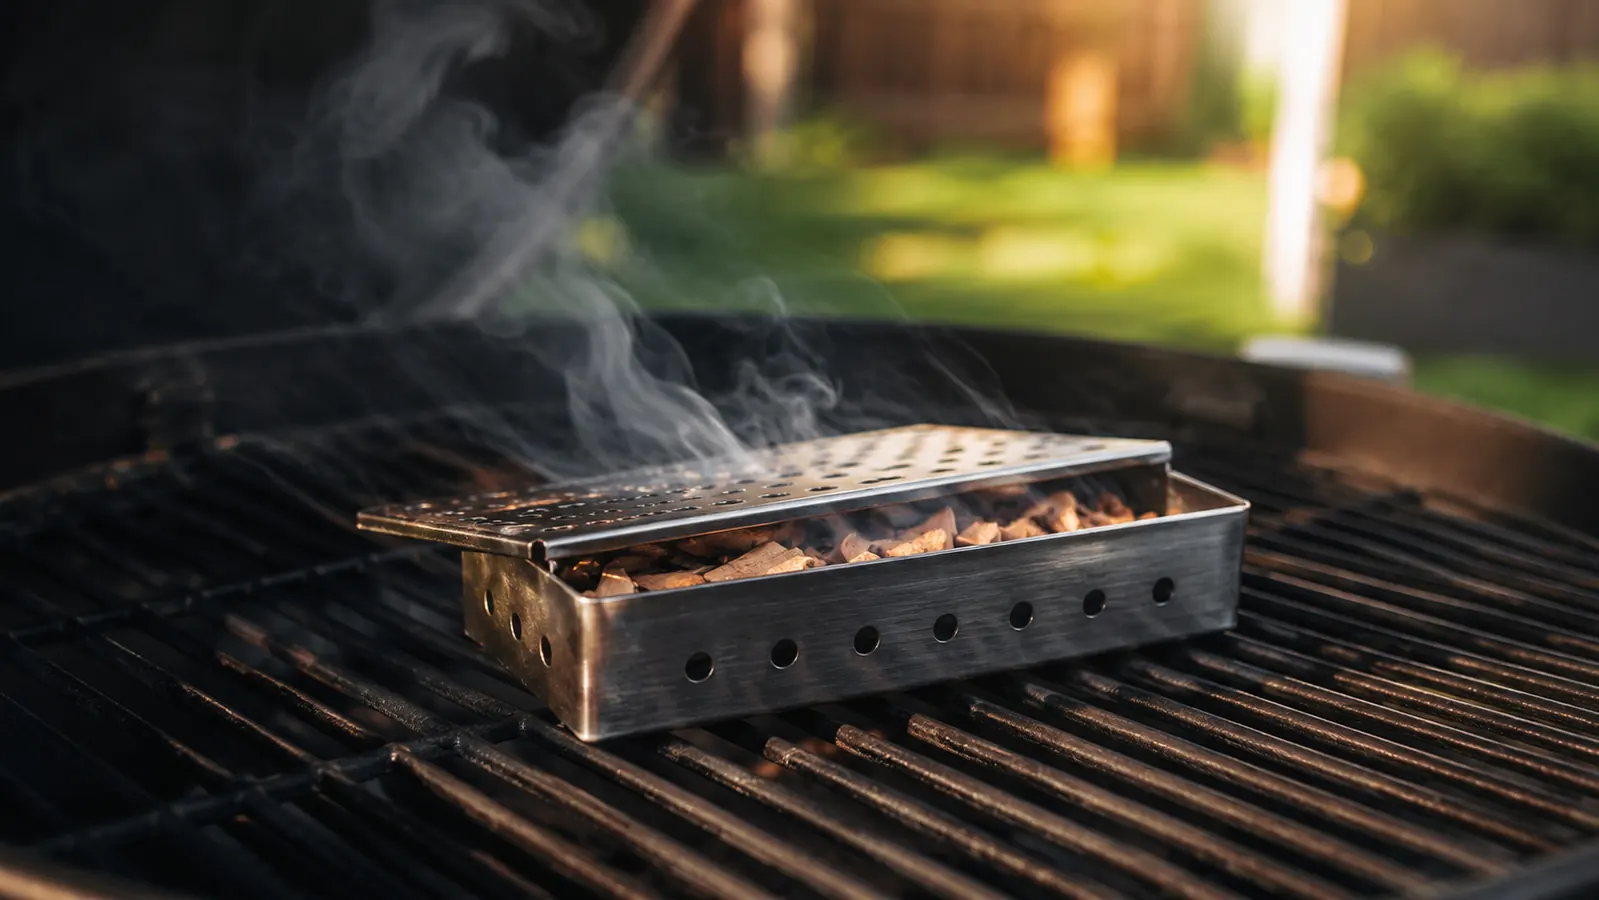
Gas grills are easy. They light fast, hold temperature well, and you do not have to babysit a charcoal bed for an hour before you can cook. But they have one problem every serious backyard cook runs into eventually: there is no smoke. You pull a chicken off a gas grill and it tastes fine. Pull the same bird off a smoker and it is a completely different experience. I spent years accepting that tradeoff until a buddy showed me his smoker box setup on a three-burner propane grill. The chicken he made that afternoon had a hickory ring in the meat and flavor that had nothing to do with sauce. That was the day I started using the Weber Premium Smoker Box on my own gas grill, and I have not looked back.
This guide walks through the exact method I use every weekend, from chip selection to placement to timing. It is not complicated, but the details matter. Get one step wrong and you end up with either no smoke or bitter, over-smoked meat. Follow this sequence and your gas grill will produce real BBQ flavor that your guests will not be able to explain.
Your gas grill is one simple box away from real smoke flavor.
The Weber Premium Universal Stainless Steel Smoker Box fits most gas grills, survives direct burner heat season after season, and lets you use any wood chips you already have. Check today's price before you buy a whole separate smoker.
Amazon Check Today's Price on Amazon →What You Will Need Before You Start
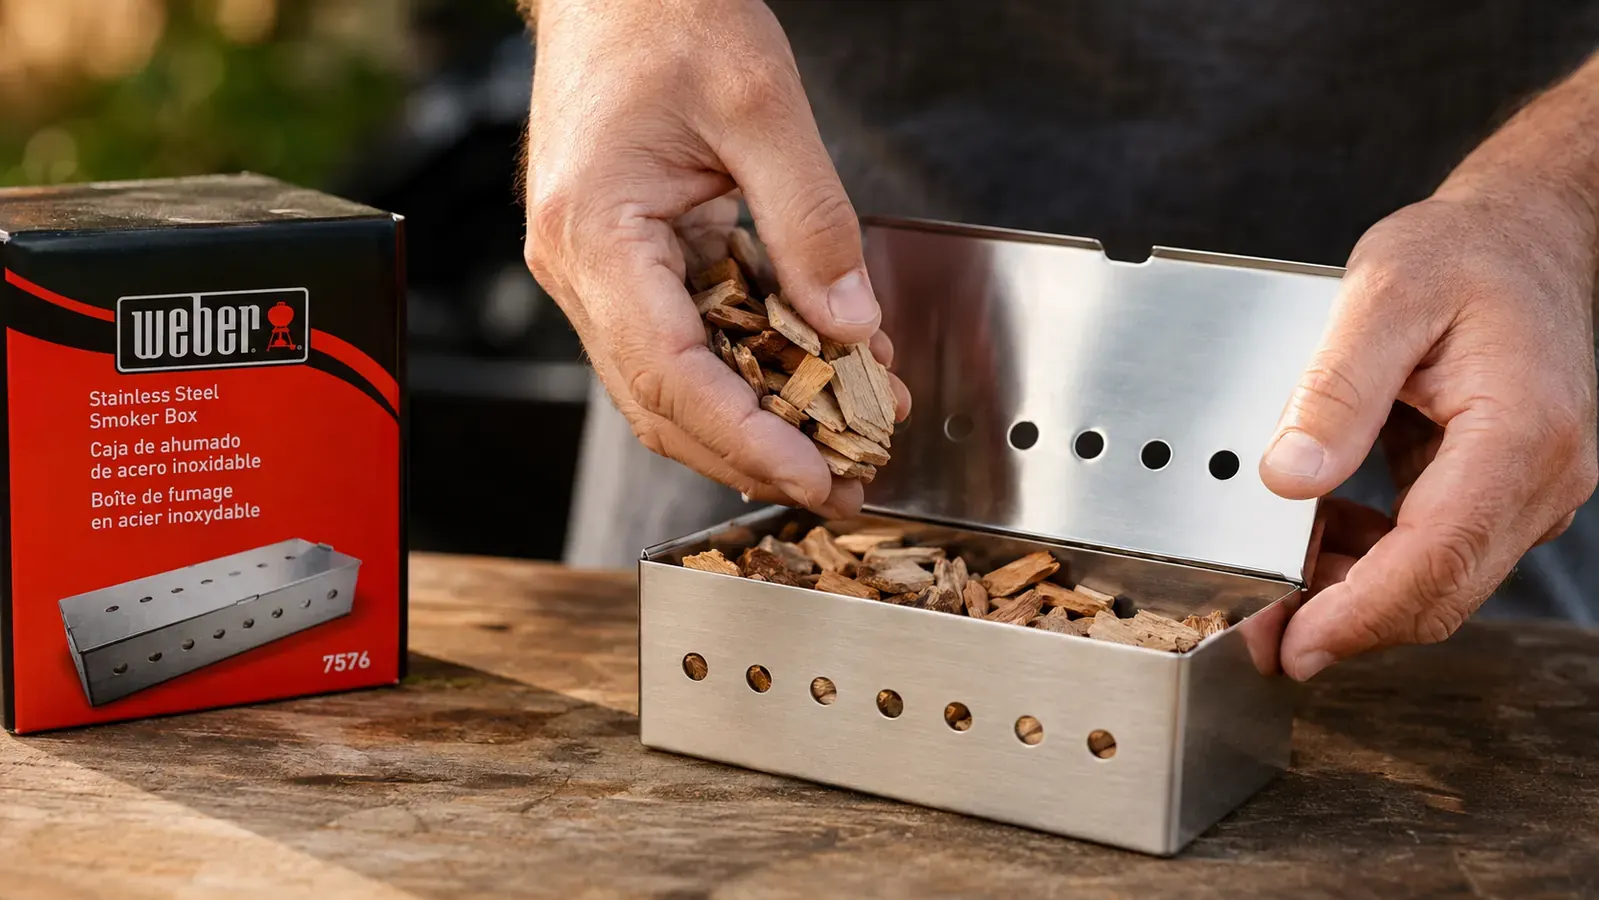
You do not need a lot of equipment for this. The smoker box itself is the main tool. I use the Weber Premium Universal Stainless Steel Smoker Box specifically because it is built to handle direct burner contact without warping. Cheaper foil trays and thin-gauge boxes deform after a few cooks. The Weber has a hinged lid so you can add chips mid-session without pulling the box off a hot grill, and the stainless construction means it still looks new after a full grilling season of weekly use.
For wood chips, you want chips not chunks. Chunks are designed for offset smokers and charcoal kettles where they smolder slowly. On a gas grill the heat is more intense and direct, so chips produce smoke faster and more efficiently. Pick a wood that matches your protein: hickory or mesquite for beef brisket and pork shoulder, apple or cherry for chicken and pork ribs, alder or pecan for fish and vegetables. Start with hickory if you are new to this. It is forgiving and produces a flavor most people recognize as classic BBQ.
Step 1: Soak Your Wood Chips (Or Don't)
There is a long-running argument in backyard BBQ circles about whether to soak wood chips before using them. The honest answer is that soaking delays the start of smoking by about 10 to 15 minutes but does not meaningfully extend total smoke time. The water burns off first, then the wood smokes, then it turns to ash. If you have time, soaking for 30 minutes gives you a slower, more controlled smoke start. If you are in a hurry, dry chips work fine and start producing smoke faster. Either way, you need enough chips to fill the smoker box about three-quarters full.
I typically skip soaking when I am doing a quick weeknight cook and soak when I am doing a long low-and-slow session like a pork shoulder or a whole chicken. For anything under two hours, dry chips are perfectly fine. The wood flavor does not care whether you soaked the chips first; it cares about how hot your grill runs and how much airflow you allow.
Step 2: Place the Smoker Box on or Under the Grates
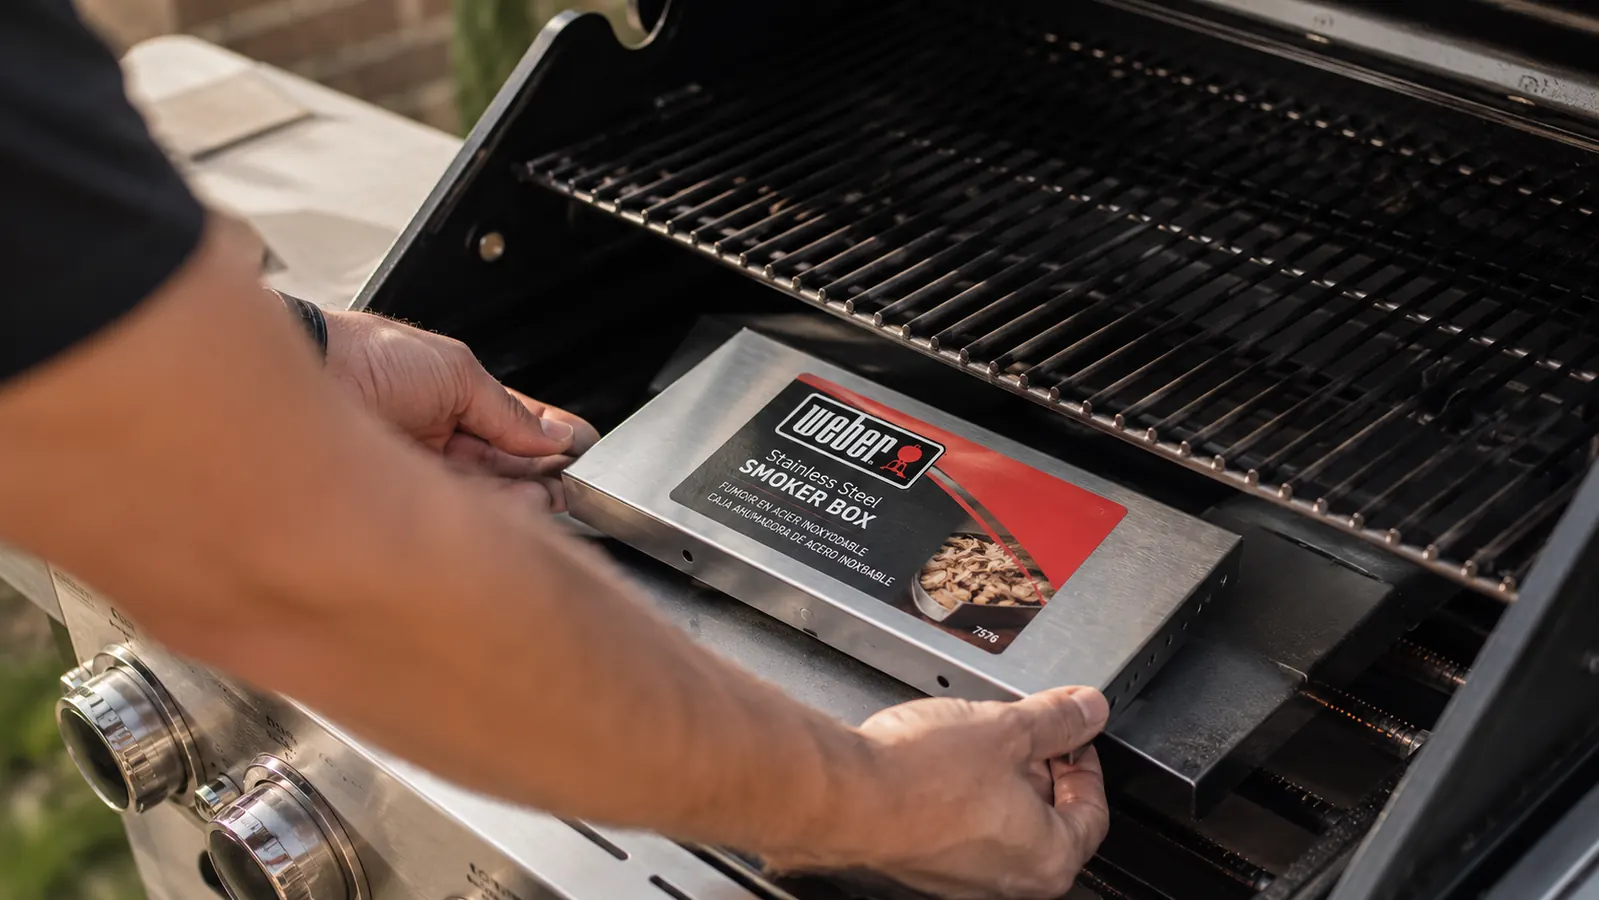
This is where most people make their first mistake. They set the smoker box on top of the cooking grates, away from the burners, and then wonder why they get almost no smoke. The smoker box needs to be close to a direct heat source to get hot enough to ignite the chips. On most gas grills that means one of two placements: directly on the burner covers (the metal shields above the burner tubes) just under the cooking grates, or on the far left or far right of the cooking grates directly above a lit burner.
The under-grate placement on the burner covers is my preference. It keeps the box out of the way of your food and gets the chips smoking within 10 to 15 minutes of lighting the grill. Set the box on the burner cover on the side where you will be running a burner on high. Your food goes on the opposite side for indirect cooking, or across the whole grill if you are doing direct-heat items like burgers and thighs.
Step 3: Preheat With the Smoker Box In Place
Close the lid and let the grill preheat to your target temperature with the smoker box already inside. Do not add food yet. You want the chips to start smoking before the meat goes on. Crank the burner nearest the smoker box to high for the first 10 minutes of preheat. You will see smoke starting to come out of the grill vents and the lid seams. That is your signal that the chips are engaged. Once you see consistent smoke, dial the burner down to your cooking temperature and add your food.
For indirect smoking runs, I use a two-zone setup: one burner on the smoker-box side set to medium-high, the opposite burner off. Food goes over the unlit side. Lid temperature holds around 275 to 325 degrees Fahrenheit depending on the weather. For direct-heat cooks like burgers and steaks, I let the chips smoke during the preheat and then cook as normal. The meat picks up smoke flavor in the first few minutes of cook time, which is when it is most receptive.
The meat picks up most of its smoke flavor in the first half of the cook. Once the outside firms up and the bark starts forming, the smoke stops penetrating as deeply.
Step 4: Load Your Food and Manage the Smoke
Once the chips are smoking, add your food. For a long cook like a pork shoulder or a rack of ribs, check the smoker box every 45 to 60 minutes. When you no longer see smoke coming off the box, the chips have burned through. Open the lid, lift the grate if needed, and use tongs to add another handful of chips. This is where the hinged lid on the Weber box is genuinely useful. You do not have to use an oven mitt to pry open a hot lid one-handed. Just flip it, drop in chips, flip it back.
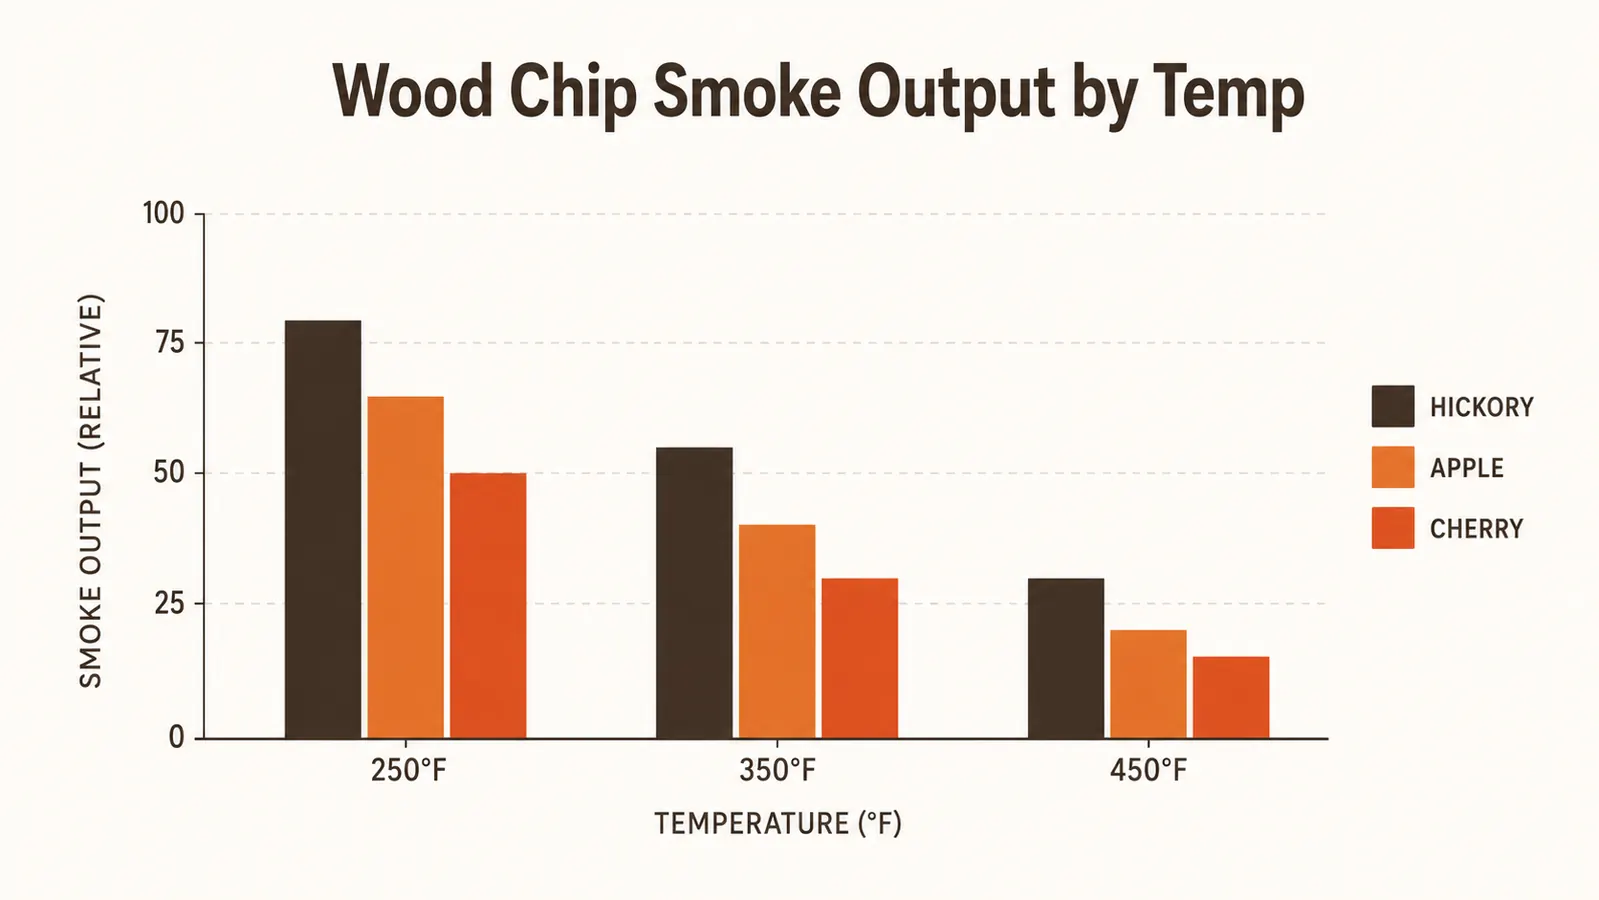
For shorter cooks, one fill is usually enough. A properly loaded box with a hot burner under it will smoke actively for 30 to 45 minutes. Chicken thighs, salmon fillets, corn, and vegetables do not need more than one smoke cycle anyway. Over-smoking is a real problem: too many chips or too long a smoke session on mild proteins produces a bitter, acrid flavor that overpowers the food. Less is more, especially when you are starting out.
Step 5: Finish, Rest, and Taste What You Made
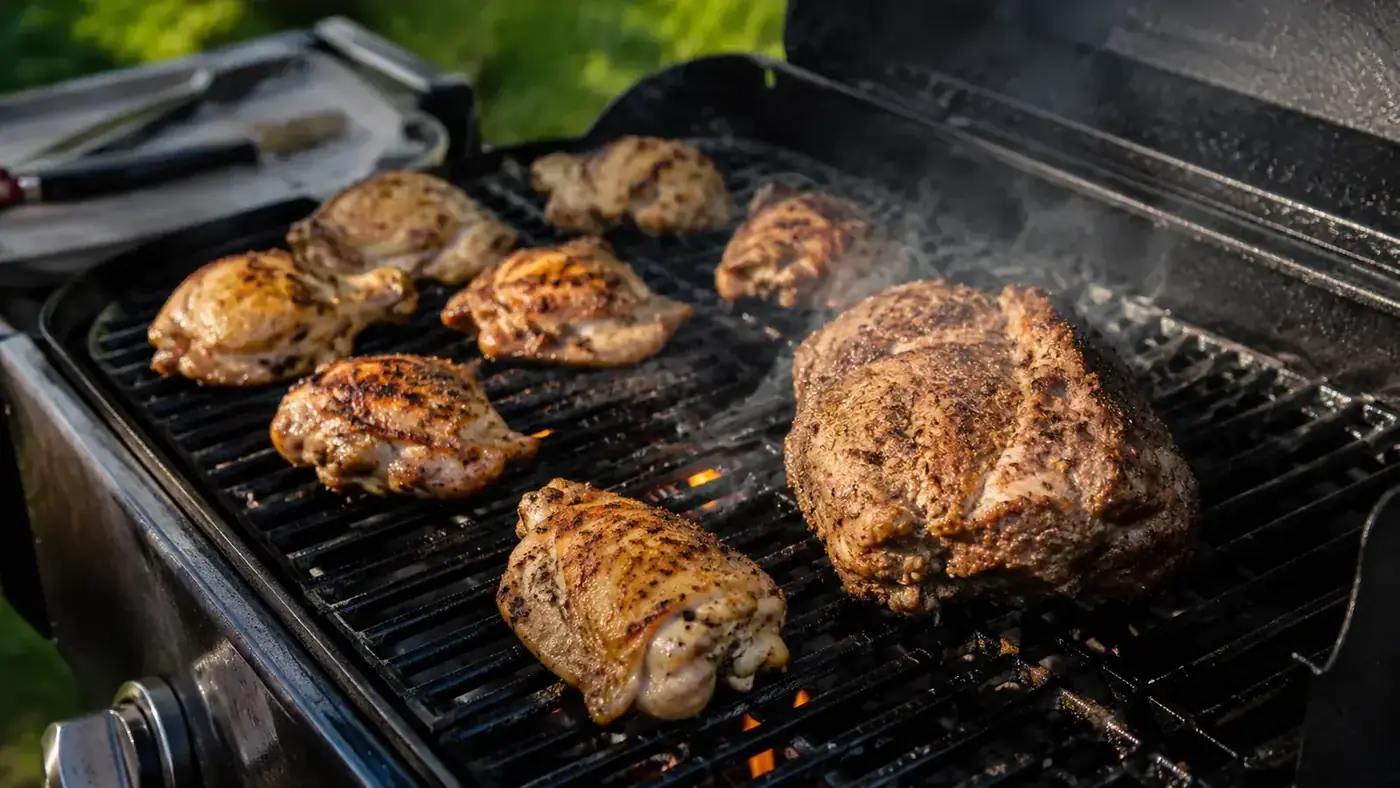
Cook your food to the right internal temperature just as you would on any other cook. The smoke is flavor, not a cooking method. Your chicken still needs to hit 165 degrees Fahrenheit in the thickest part. A pork shoulder still needs to reach 200 to 205 for the collagen to break down properly. An instant-read thermometer takes the guesswork out of this completely. Pull the food at temp, tent it loosely with foil, and let it rest for at least five minutes before cutting in.
When you cut into a properly smoked piece of chicken, you will see a thin pink-red layer just under the skin. That is the smoke ring. It is not raw meat; it is a chemical reaction between myoglobin in the muscle tissue and the combustion gases from the burning wood. It is also the most reliable visual sign that your smoke setup is working. The first time you see it on something off a gas grill, it genuinely changes how you think about your equipment.
What Else Helps
A few additions make the smoker box method work better. First, a good meat thermometer. You cannot judge smoke penetration by color or feel, and you need accurate internal temperature readings to pull food at the right time. A fast instant-read probe saves you from cutting into meat too early and letting all the juices run out. Second, a two-zone grill setup gives you much more control. Running one burner hot for the smoker box and one off for the food means you get smoke without the risk of burning the outside before the inside is done. Third, consistency. The first time you use a smoker box the results will be good. By the fourth or fifth cook you will have dialed in your wood preference, your chip load, and your timing. The method rewards repetition.
One thing that does not help much: adding liquid to the smoker box. Some guides suggest putting beer or apple juice in the box with the chips. What actually happens is the liquid vaporizes and produces steam, not smoke. The flavor compounds in wood smoke come from burning lignin, not from steam. Wet chips smoke a little more slowly; liquid in the box mostly just makes a mess and slows down chip ignition. Keep it simple: chips, heat, and time.
If you want to take the smoke flavor further without buying a dedicated smoker, look at a long indirect cook. Set up your two-zone configuration, load the smoker box, and run a pork butt or a whole chicken at 300 degrees with the lid closed for two to three hours, refreshing the chips once or twice. That is not quite the same as 12 hours in an offset smoker, but for a gas grill it produces results that will surprise anyone who has not tried it. See the related article on the Weber smoker box review for a deeper look at how the box performs over a full year of use, and check out 10 reasons a smoker box upgrades your gas grill if you are still on the fence about whether it is worth adding to your setup.
Ready to stop settling for gas-grill food that just tastes like gas-grill food?
The Weber Premium Universal Stainless Steel Smoker Box is the tool I trust for this every weekend. Stainless construction, hinged lid, fits under most grate styles, and it handles direct burner heat without bending out of shape. Check the current price on Amazon and see whether it makes sense for your setup.
Amazon Check Today's Price on Amazon →